4medica Remote Print Agent Installation (Windows)
This guide covers the installation process for the 4medica Remote Print Agent on Microsoft Windows.
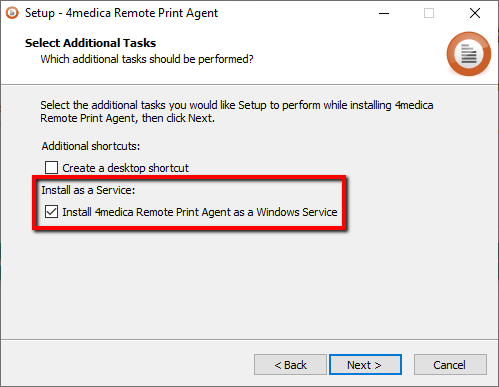
Important Note: we recommended installing the Print Agent as a Windows service. Please refer to Step 6 on how to enable this option.
Step 1: Download the 4medica Remote Print Agent
You can download the Agent from the main installation page.
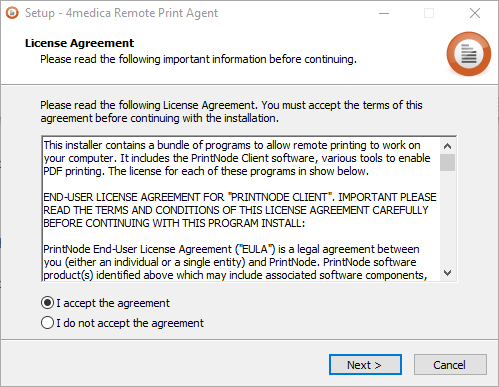
Step 2: Open the File
Navigate to your Downloads folder and double click on the 4medica Remote Print Agent.exe file to start the Installer.

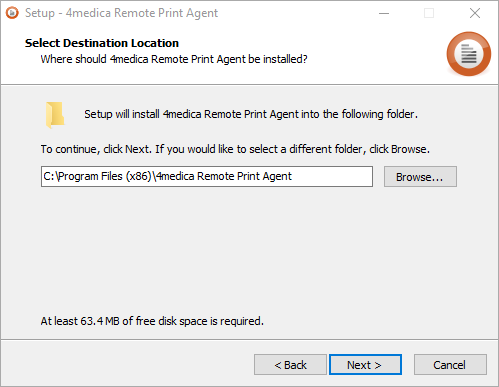
Step 4: Choose an Installation Location
You can specify a location to install the Agent, we recommend using the default location provided.
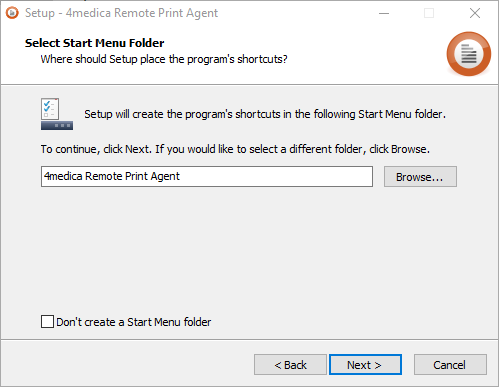
Step 5: Select a Start Menu Folder
You can specify a Windows Start menu folder, we also recommend using the default menu folder.
Step 6: Install as a Windows Service
You may choose to have the Print Agent installed as an application or a service. We recommend installing as a service, so make sure that the "Install as a Service" option is checked.
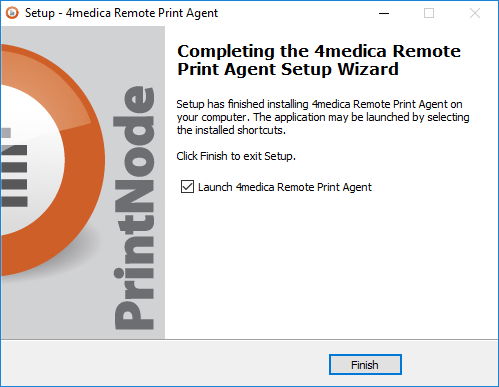
Next Steps
Your agent is ready and if you chose to launch the Agent, you may login with your PMGR account number and password.